

HEALING BRUSH TOOL (SHIFT + J):
In our previous tutorial we have practiced with the New tool Spot Healing Brush Tool.
Now we are going to learn about Healing Brush Tool which is the first tool in photoshop's Healing tools collection.
Healing Brush Tool repairs or heals the problem area by using the sampled area (source area).
In case of Spot Healing Brush Tool, which automatically replaces the problem area with the fine surrounding area.
But in case of Healing Brush Tool, we have to set the source (sampled area) by pressing ALT key and clicking on the source area.
To understand clearly follow the steps.
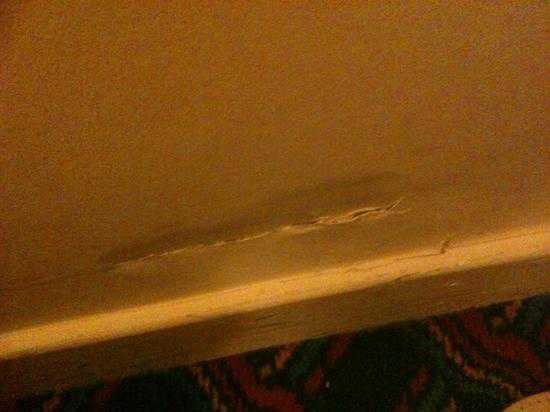
1. First open an image which contains defect. Here I took a wood with a long scratch.

2. Select Healing Brush Tool from Tools Panel. Right click or press and hold mouse left button on the spot healing brush tool. A drop down menu will appear. Go down and select 2nd tool for CS2 and for advanced photoshop versions and select 1st tool for photoshop lower versions.

3. Now add a new layer. To do this, go to Layer Palette and click on New Layer Icon. Follow the image.

Now we will have to do all our work on this new layer. Because if we work directly on the image, there is a chance to make our original image worst. So, to protect our original image, we have to add a new layer.
4. Now we are working with two layers. If we start our work with Healing Brush Tool directly, we will get nothing. So we have to Sample 2 layers. To do this check “Sample All Layers” option in the options bar. If we check this option means we are allowing Photohop to sample from all visible layers. This means Photoshop will look at the image on the background layer as well. Follow the image.
5. Now we have to take a sample (fine or good area) for Photoshop to consider this area as a source (fine or good area) and to apply this area on the problem area.
To do this, hold down ALT key and click on the fine or good area to make that area as a source. When you hold down ALT key, you will observe that cursor changes to a symbol. This means Photoshop is ready to make that area as a sample. Then click mouse left button.

6. Now click and hold mouse left button and drag over the scratch or defect area. When you complete dragging over the scratch, release your mouse button.


7. Now automatically the damaged area will be healed. Look at the image which has healed or repaired successfully with the Healing Brush Tool.
After Healing

Before Healing
PLEASE LEAVE YOUR COMMENTS
No comments:
Post a Comment